 生产环境部署
# 环境要求
- JDK: 1.8
- MySql: 5.7+
- Nginx
- Tomcat: 8+(可选)
# 项目部署
# 后端打包部署
(1)关键配置设置(演示配置:端口为:18089,context-path为:/jeeplus)
i.修改jeeplus-web的application.yml,development改为production

ii.修改jeeplus-web的application-production.yml中的相关配置

(2)打包为jar,则使用java -jar启动
(3)打包为war,则使用tomcat部署。**注意tomcat配置的访问端口要与application-production.yml中配置的端口一致,部署的项目名与context-path一致。**例如演示项目需要打包为jeeplus.war,tomcat的访问端口配置为18089.
# 前端打包
(1)配置文件修改。修改jp-ui/.env.production配置文件。演示域名为:my.jeeplus.org

(2)执行打包命令。
yarn build
1

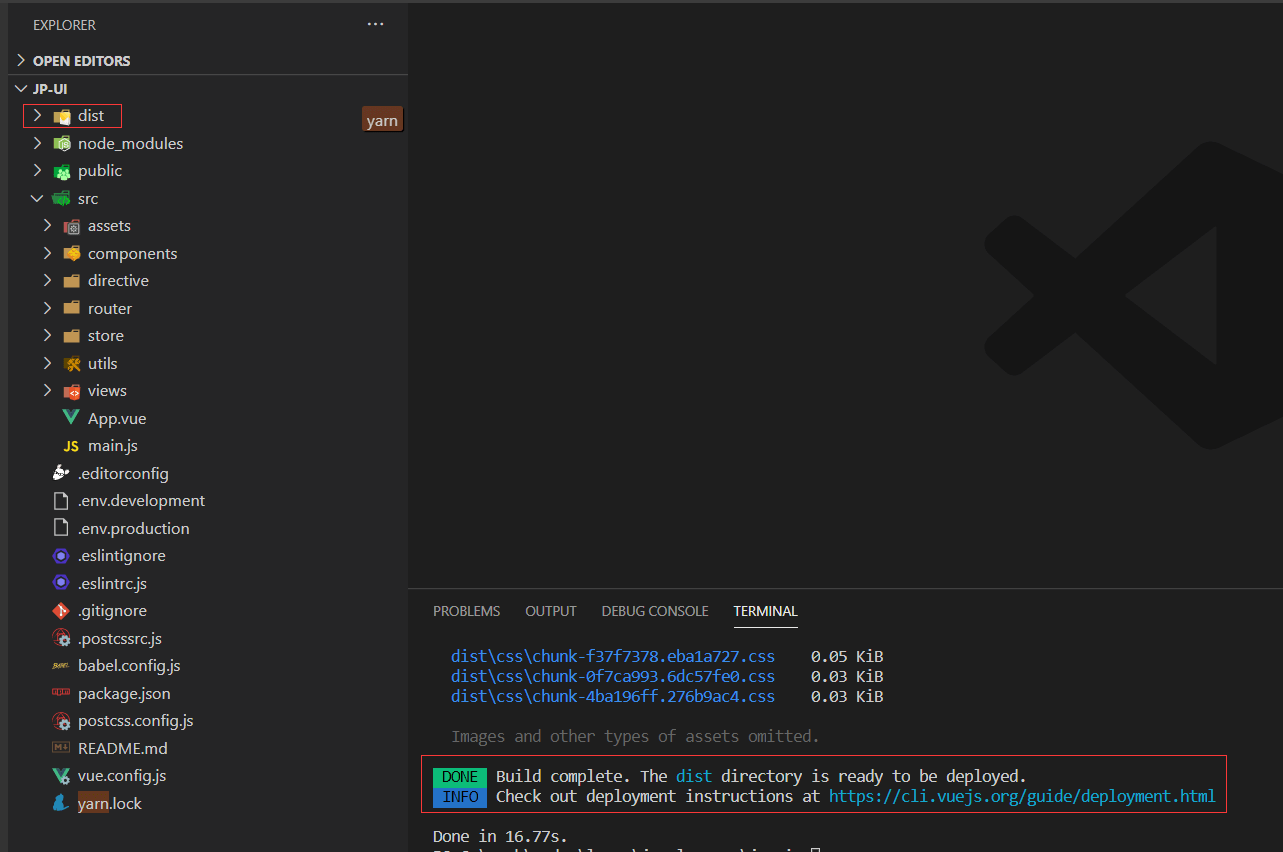
(3)将打包成功的dist文件夹copy到C:/work/web/目录下
# Nginx配置
(1)开启gzip压缩功能
    gzip on;            #开启gzip功能
    gzip_min_length  100;      #响应页面数据上限
    gzip_buffers     8 64k;         #缓存空间大小
    gzip_http_version 1.1;      #http协议版本
    gzip_comp_level  6;         #压缩级别4
    #gzip_types       text/plain application/x-javascript text/css application/xml text/javascript image/jpeg image/gif image/png;
    gzip_vary on;       #启用压缩标识
    gzip_static on;     #开启文件预压缩
    gzip_types    text/plain application/javascript application/x-javascript text/javascript text/xml text/css font/ttf font/otf image/jpeg image/gif image/png;
1
2
3
4
5
6
7
8
9
2
3
4
5
6
7
8
9
(2)配置sever
    server {
        listen 80;
        server_name my.jeeplus.org;

        location /cms { #配置的cms与jp-ui/.env.production配置文件中的BASE_URL名字保持一致
           alias C:/work/web/dist/; #配置打包的前端文件夹目录
        }

       location /cms/userfiles { #附件
                 client_max_body_size 50M;
                 client_body_buffer_size 128k;
                 proxy_pass http://127.0.0.1:18089/jeeplus/userfiles;
       }

       location /jeeplus/userfiles { #附件
                 client_max_body_size 50M;
                 client_body_buffer_size 128k;
                 proxy_pass http://127.0.0.1:18089/jeeplus/userfiles;
       }

       location /userfiles { #附件
                 client_max_body_size 50M;
                 client_body_buffer_size 128k;
                 proxy_pass http://127.0.0.1:18089/jeeplus/userfiles;
       }

       location /jeeplus/f { #前端基础路径
                 client_max_body_size 50M;
                 client_body_buffer_size 128k;
                 proxy_pass http://127.0.0.1:18089/jeeplus/f;
        }

       location /jeeplus/api { #后台管理接口
                 client_max_body_size 50M;
                 client_body_buffer_size 128k;
                 proxy_pass http://127.0.0.1:18089/jeeplus;
        }
       location /jeeplus/static { #静态资源路径
                 client_max_body_size 50M;
                 client_body_buffer_size 128k;
                 proxy_pass http://127.0.0.1:18089/jeeplus/static;
        }
    }
1
2
3
4
5
6
7
8
9
10
11
12
13
14
15
16
17
18
19
20
21
22
23
24
25
26
27
28
29
30
31
32
33
34
35
36
37
38
39
40
41
42
43
2
3
4
5
6
7
8
9
10
11
12
13
14
15
16
17
18
19
20
21
22
23
24
25
26
27
28
29
30
31
32
33
34
35
36
37
38
39
40
41
42
43
(3)本地演示,需要配置C:/Windows/System32/drivers/etc/hosts,加上如下配置
127.0.0.1 my.jeeplus.org
1
(3)启动Nginx。
后台管理地址访问
http://my.jeeplus.org
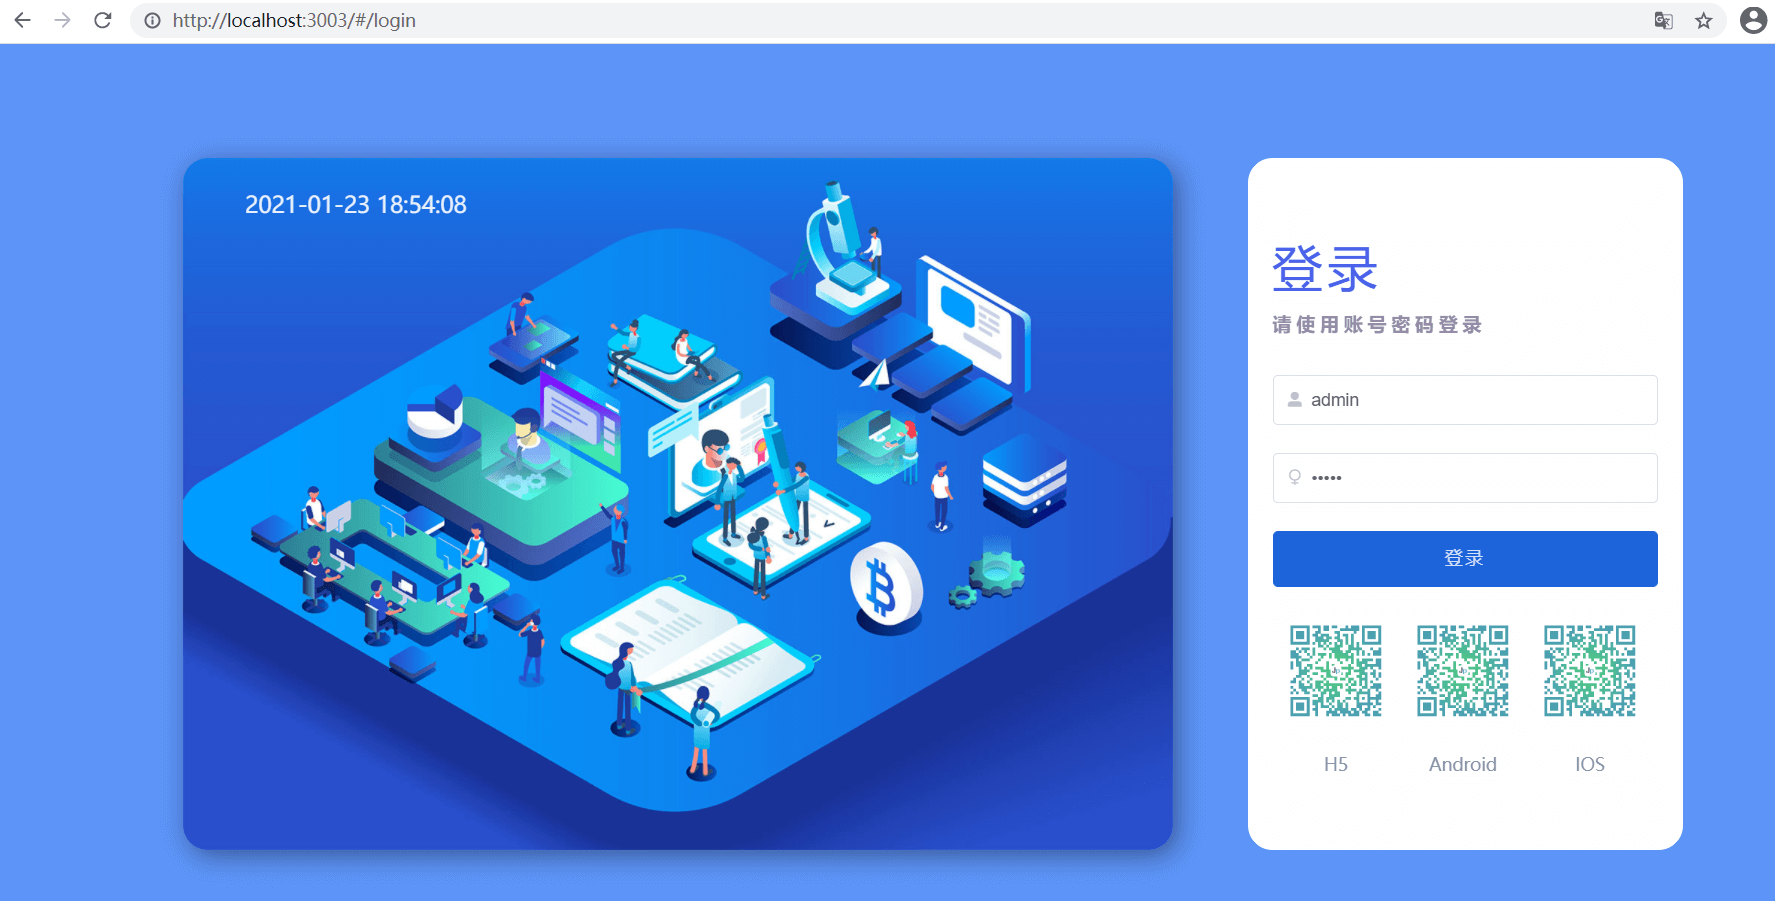
点击登录,进入
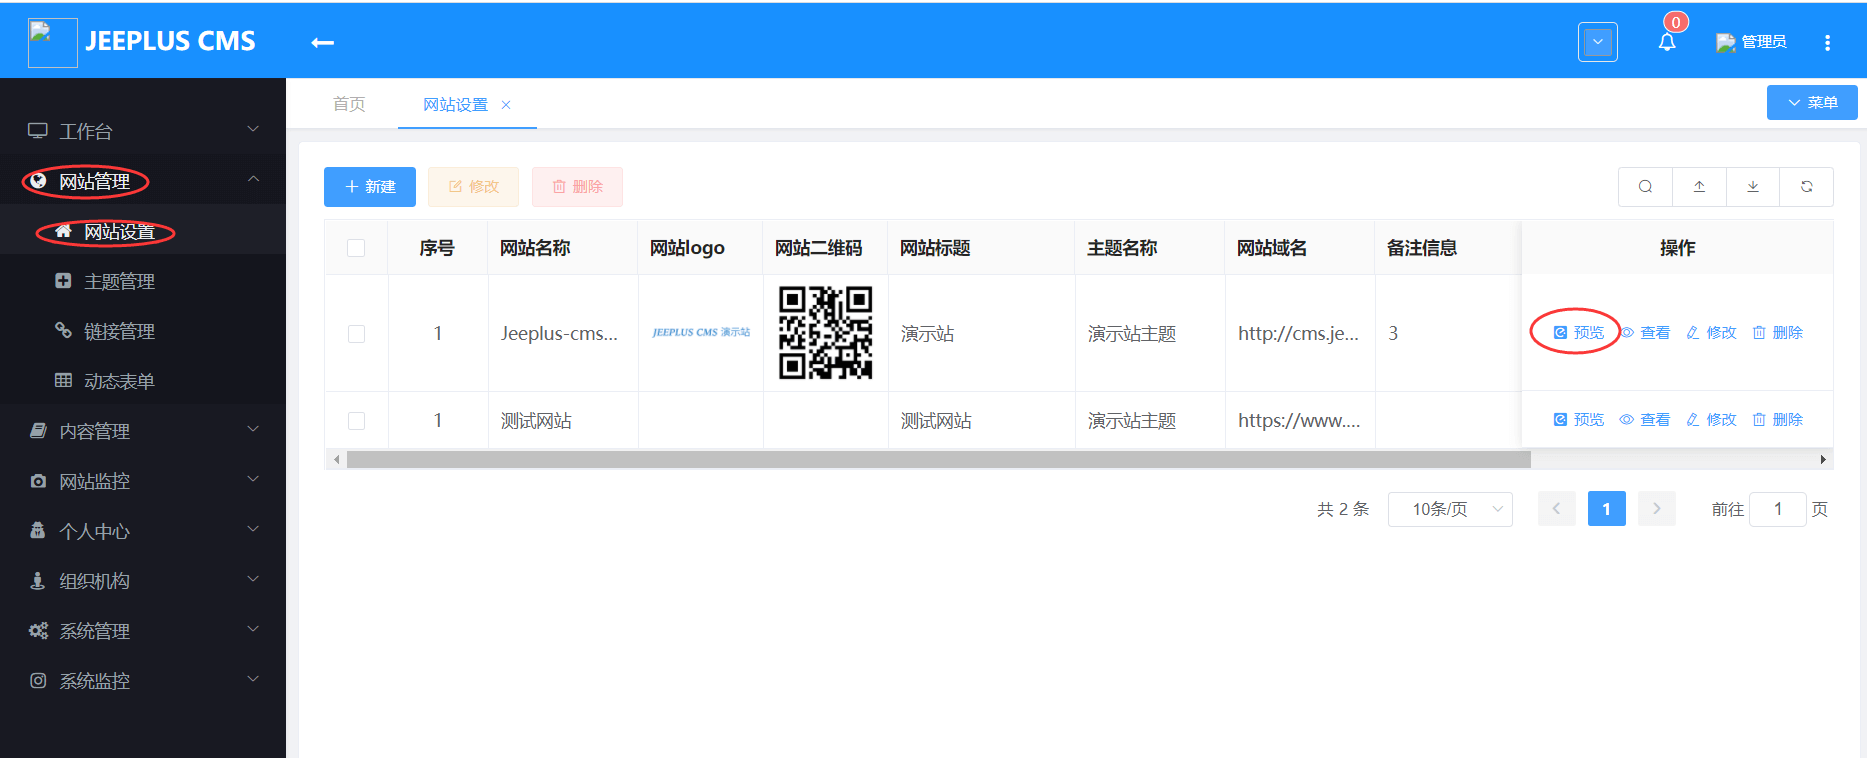
网站管理->网站设置,将网站域名的内容删除
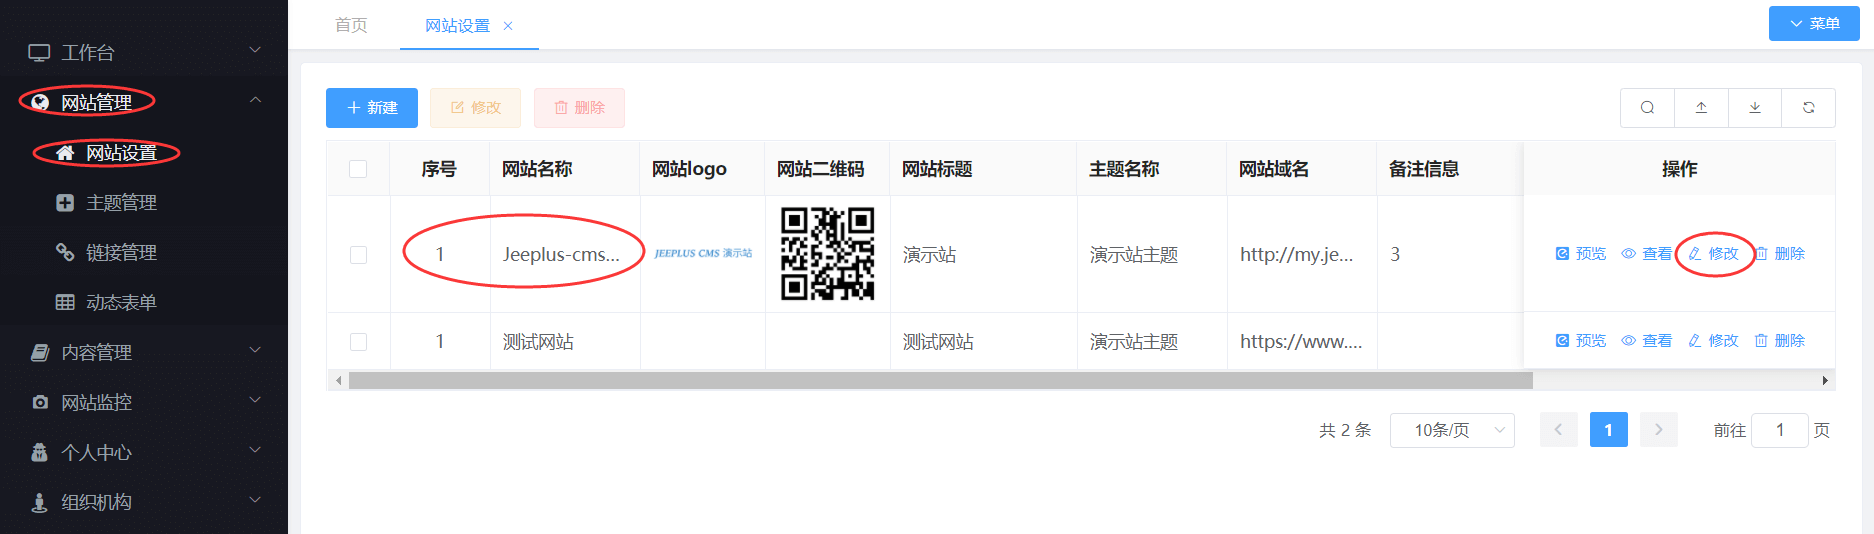
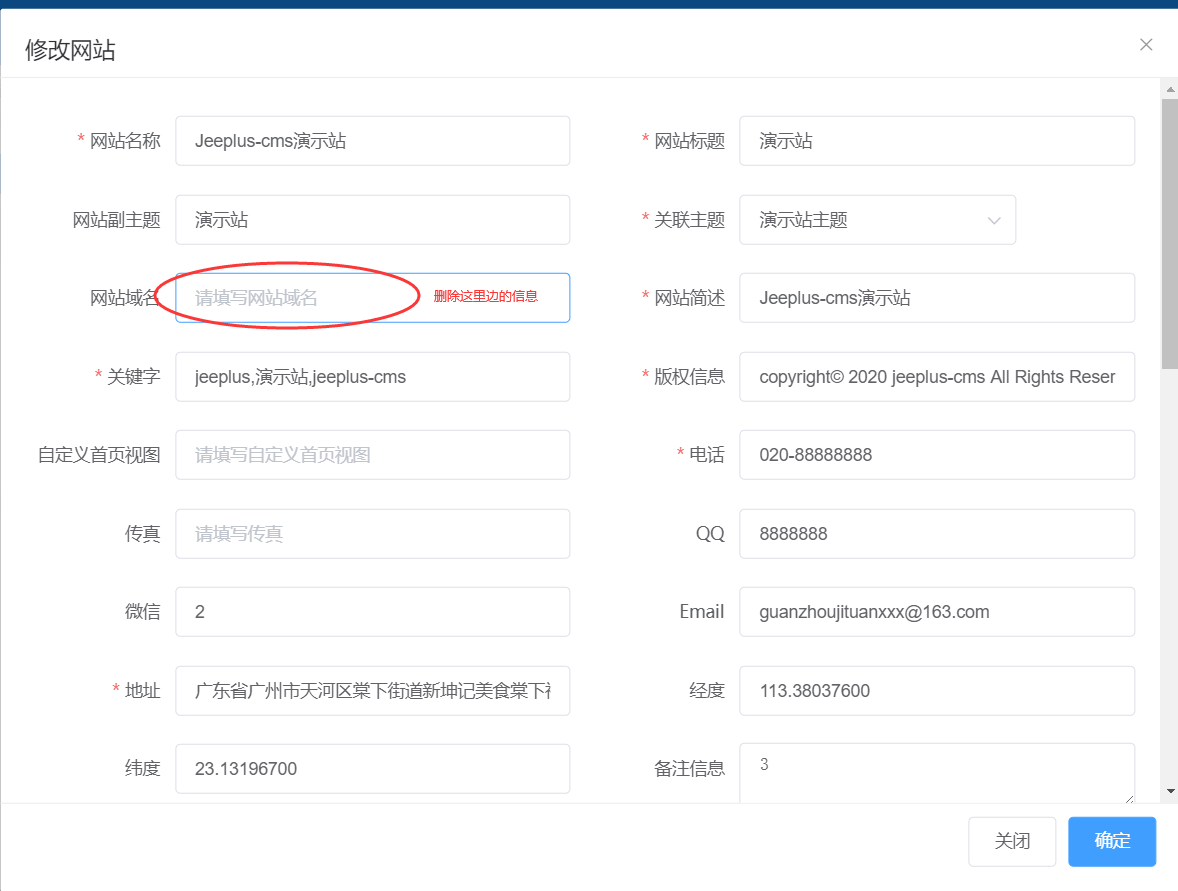
- 点击
预览,即可访问cms演示站

上次更新: 2021/08/04, 09:08:00